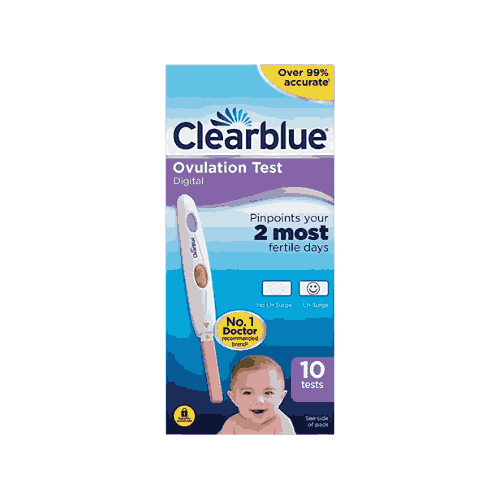
Clearblue Ovulation Test Digital
Inhouse product

Reviews & Ratings
Shows your 2 most fertile days
By pinpointing your 2 best days to get pregnant you can be more confident you are trying at the right time.
Over 99% accurate2
More accurate than calendar and temperature methods at predicting the most fertile days2.
Clear digital results
With the clear digital display, your results are easier than ever to read.
Easy to use
Unique flashing 'test stick' symbol shows the digital ovulation test is working.
alaska-promo
Try our FREE Clearblue® Period & Cycle Tracker app
Log your ovulation test results, and track your cycles and symptoms. See predictions for your peak fertility days and period due date based on your cycle length.
Suitable For:
Information Currently Unavailable
How to Use :
1. Before testing
- Please always read the instructions on pack and in the leaflet carefully before use.
- You need to know your usual cycle length before you start, to ensure you test at the right time to find your LH surge
- To work out your cycle length, count the day period starts (first day of full menstrual flow) as Day 1, and continue counting through to the day BEFORE your next period starts – the number of days is your cycle length.
- Once you know your cycle length, use the table below to find out when to start testing:
Your cycle length in days 21 or less 22 23 24 25 26 27 28 29 30 31 32 33 34 35 36 37 38 39 40 41 or more
Start testing on the day under your cycle length 5 5 6 7 8 9 10 11 12 13 14 15 16 17 18 19 20 21 22 23 17 days before your next period
- You can test at any time of the day, but you should test at the same time of day each day.
- Try not to urinate for four hours before you do the ovulation test, and you should avoid excessive fluid intake before testing – you might find it easier to use the first urine of the day.
2. Getting the ovulation test ready
- Remove the ovulation test stick from the foil wrapper.
- Remove the cap
- Before applying urine to the ovulation test stick it must be inserted into the test holder.
Getting the ovulation test ready
- Align the pink arrow on the ovulation test stick with the pink arrow on the test holder and insert until it clicks into place.
- Wait for the 'test ready' symbol to appear and take the ovulation test immediately.
3. Doing the test
Doing the test- Place the absorbent sampler pointing downwards in your urine stream for 5 to 7 seconds.
- Or collect a sample of your urine in a clean, dry container. Dip the absorbent sampler in the urine for 15 seconds.
- Take care not to get the test holder wet.
4. Wait for 3 minutes
Wait for 3 minutes- Keep the sampler pointing downwards or lay the test flat. Throughout testing never hold the test with the absorbent tip pointing upwards.
Wait for 3 minutes- After 20 to 40 seconds the 'test ready' symbol will start flashing to show the ovulation test is working.
- Do not eject the ovulation test stick before you get your result.
- Replace the ovulation test stick's cap and wait for 3 minutes.
5. Read your results
Within 3 minutes the display will show your result.
No LH surgeNo LH surge: If you get a 'blank circle', the test hasn't detected your LH surge. Test again at the same time tomorrow using a new ovulation test stick.
LH surgeLH surge: A 'smiley face' means you've detected your LH surge. Your 2 most fertile days are today and tomorrow so having sex in the next 48 hours will maximise your chances of getting pregnant.
- Once you have read your final result eject the ovulation test stick and throw it away.
- Your result can only be read on the test holder display - you cannot determine your result from any lines on the ovulation test stick.
- Your result will remain on the display for 8 minutes.
- Do not re-insert a used ovulation test stick.
Storage:
Information Currently Unavailable
Precautions:
Information Currently Unavailable
Ingredients:
Information Currently Unavailable
Attachments :
Information Currently Unavailable
Related products
Product Queries (0)
Login Or Registerto submit your questions to seller
Other Questions
No none asked to seller yet